

You’ve done everything right. You polished the piece to a mirror shine, ran it through the ultrasonic cleaner, and gave it a final blast with your jewelry steamer. But when it dries, you see it, a frustrating, hazy film. If you’re constantly dealing with jewelry steamer cloudy results, you’re not alone. This common issue isn’t usually the steamer’s fault. Instead, it’s often a sign that something earlier in the cleaning process needs a second look.
Why is my jewelry cloudy after steaming?
Jewelry looks cloudy after steaming because the steam is reacting with residual polishing compound, hard water minerals, or detergent film that wasn’t fully rinsed off. To fix it, ensure your ultrasonic solution is heated to 140°F (60°C), use distilled water in your steamer, and dry the piece immediately with compressed air or a lint-free cloth to prevent spotting.
That cloudy finish is typically a thin layer of leftover polishing compound, detergent film, or mineral deposits from hard water. The good news is that you can achieve a flawless, sparkling finish every time. This guide breaks down the entire process, from pre cleaning to the final wipe down, to help you diagnose and eliminate the cause of your jewelry steamer cloudy results for good.
The Real Culprit: It Starts Before the Steam
Most jewelry steamer cloudy results are caused by stubborn residues that an ultrasonic cleaner loosens but doesn’t fully remove. The steamer then reveals this leftover film. Let’s look at the source.
Understanding Polishing Compound Residue
Polishing compounds, or rouges, are made with wax or grease based binders designed to cling to your buffing wheel and the jewelry itself. This residue doesn’t just rinse off with water. It needs to be emulsified, or broken down, with the right combination of chemistry and heat.
Heat is Your Best Friend: A heated ultrasonic solution is non negotiable for breaking down waxy compounds. One study in jewelry manufacturing found that cleaning efficiency jumped from nearly 0% to over 93% when the cleaning solution was heated to 60°C (140°F).
The Right Chemistry: A strong alkaline or ammoniated cleaning solution helps dissolve the greasy binders. If your current solution isn’t cutting it, you can try mixing it at the stronger end of its recommended concentration.
Why You Should Avoid Red Rouge on Silver
If you work with sterling silver, your choice of polishing compound can make a huge difference. Jewelers often advise against using red rouge on silver for two main reasons:
Stubborn Residue: Red rouge’s iron oxide particles are notorious for embedding into silver’s microscopic pores, leaving a reddish brown stain that is incredibly difficult to clean.
Tarnish Catalyst: The main ingredient in red rouge, iron oxide, can act as a tarnishing agent on silver if not completely removed.
Instead, professionals often prefer compounds like Zam (a green chromium oxide compound) or Fabulustre (a white alumina based compound). These are formulated to produce a high luster on silver with a less persistent residue that is much easier to clean, saving you time and preventing future tarnish. Zam is particularly great because it contains no iron and is safe for soft stones like turquoise. For hard white metals like platinum, a specialized blue platinum compound is the best choice for a haze free finish.
Mastering the Ultrasonic Cleaner: Your First Line of Defense
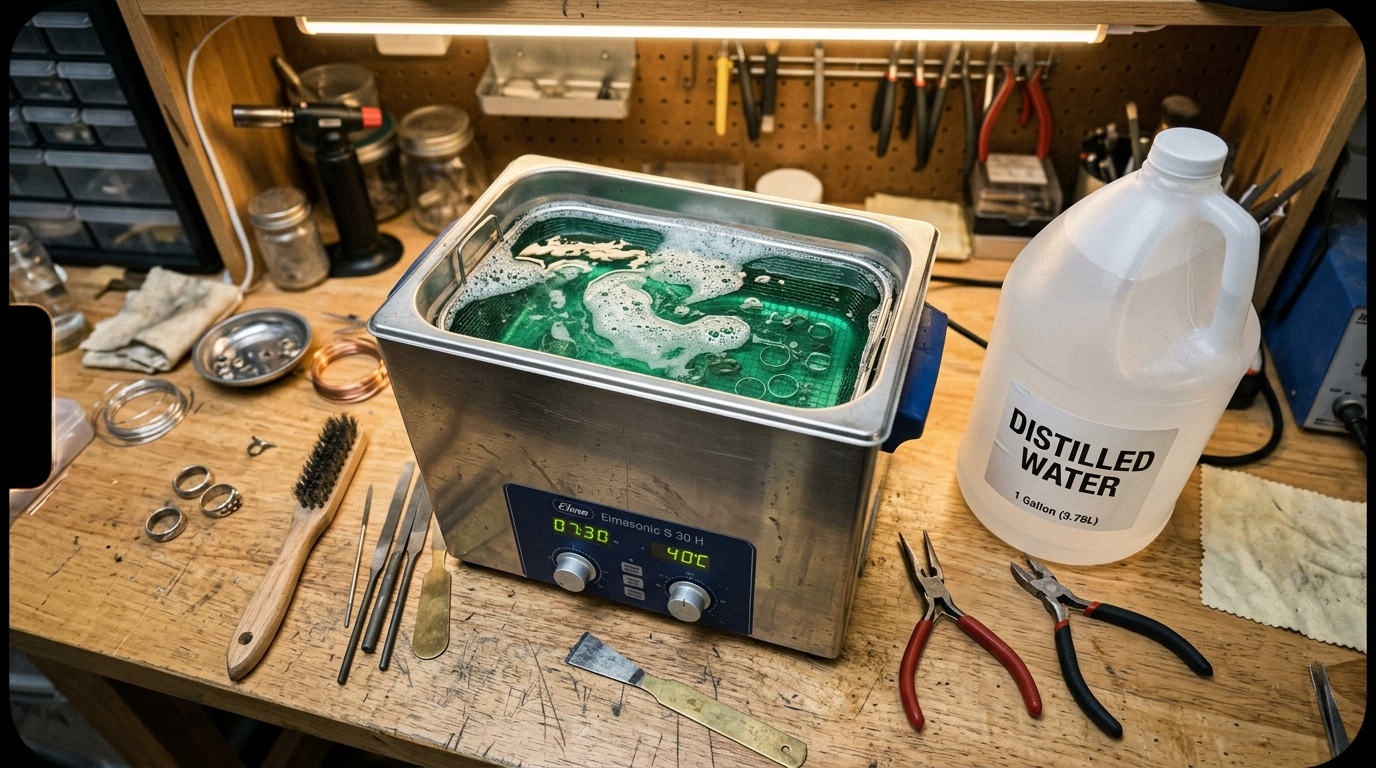
Your ultrasonic cleaner is where the heavy lifting happens. Getting this step right is crucial for preventing jewelry steamer cloudy results. Here are the key factors to control.
Dirty Solution Means Dirty Jewelry
As your ultrasonic cleaner removes grime, the solution becomes contaminated with a soup of dirt, oils, and polishing grit. A dirty solution doesn’t just stop cleaning effectively, it can actively harm your jewelry. Suspended abrasive particles can microscopically scratch a high polish finish, creating a hazy or foggy look.
For a busy jeweler, the ultrasonic solution should be changed at least daily, or anytime it becomes visibly cloudy. When you change the solution, be sure to wipe out the tank to remove any sediment that could damage the unit over time.
Getting the Concentration and Temperature Right
Your ultrasonic solution needs to be mixed correctly and heated properly to work its magic.
Concentration: Always start with the manufacturer’s recommended dilution. A solution that’s too weak won’t have enough power, while a solution that’s too strong can be wasteful and leave behind a soapy film.
Temperature: Heat softens the waxy binders in polishing compounds, allowing the detergent to work. The ideal range for most jewelry cleaning is 120–140°F (49–60°C). As one expert jeweler advises, a good target is a solution that is “just too hot to touch.”
A Quick Swish, Not a Long Soak
More time in the ultrasonic isn’t always better. For most jewelry, a 3 to 5 minute cycle is plenty. A prolonged soak, especially for softer metals, can cause problems.
This is especially true for cast sterling silver, which is naturally more porous than fabricated silver. Extended ultrasonic exposure can cause cavitation roughening, where the collapsing bubbles create microscopic pits on the surface, resulting in a frosty or cloudy patch. This is why it’s best to use the ultrasonic just long enough to get the job done.
Smart Prep Steps for Better Results
Two pro tips can dramatically improve your ultrasonic cleaning and reduce the chances of getting jewelry steamer cloudy results.
Use a Presoak Degreaser: Before the ultrasonic, give heavily soiled pieces a quick bath in a degreasing solution (like hot, soapy water or diluted Simple Green). This removes the bulk of the grime, keeping your main ultrasonic bath cleaner for longer.
Pickle and Rinse After Soldering: After soldering or casting, metal develops oxides and firescale. A pickling bath (a mild acid solution) removes these. It is critical to thoroughly rinse and neutralize the piece with a baking soda bath afterward to remove all acid residue before it enters your ultrasonic or polishing stage.
Finally, avoid piece to piece contact in the cleaner. Use a hanger or basket to ensure items don’t touch each other or the tank walls, which can cause scratches and incomplete cleaning. For cast silver, an extra step of pre burnishing by tumbling with steel shot can compress the surface, close up porosity, and create a harder, smoother foundation for a flawless final polish.
Troubleshooting the “Haze”: Causes vs. Solutions
Symptom | Primary Cause | Immediate Fix |
Greasy/Oily Film | Cold ultrasonic solution | Heat solution to 140°F (60°C) |
White/Chalky Spots | Hard water minerals | Switch to distilled water in steamer |
Dull/Foggy Finish | Dirty ultrasonic bath | Change solution and wipe tank daily |
Reddish/Brown Tint | Iron oxide (Red Rouge) | Switch to Zam or Fabulustre compounds |
Micro-pitting | Over-exposure (Cavitation) | Limit ultrasonic cycle to 3–5 minutes |
Distilled vs. Tap Water: The Mineral Impact
Using tap water in a professional steamer is the leading cause of “ghost spots.” As the steam hits the metal and evaporates, it leaves behind calcium and magnesium deposits.
The Test: If you steam a piece of clean glass and see streaks, your water source is the culprit.
The Solution: Always use distilled or deionized water. This ensures that the vapor hitting your jewelry is chemically inert and leaves zero residue upon evaporation.
The Final Rinse: Using Your Steamer for a Flawless Finish
Once your piece is properly cleaned in the ultrasonic, it’s time for the final, crucial step: steam. This is where a professional steamer proves its worth.
Why Steam Cleaning After Ultrasonic is a Game Changer
Think of the ultrasonic as the wash cycle and the steamer as the power rinse. The ultrasonic bath loosens and emulsifies grime, but a thin film of detergent and dislodged particles can still cling to the surface. A blast of high pressure steam physically blows away that remaining residue, leaving the jewelry surgically clean.
This combination is far more effective than either method alone. The steam reaches into every tiny crevice and under stones, flushing out anything left behind. Because the steam is just pure water vapor, it provides a powerful rinse without introducing new chemicals. High quality equipment is key here; a professional unit like the Hoffman Pro JEL3 steamer delivers the consistent, high‑pressure steam (up to 90 PSI) needed to blast away residue effectively.
Steamer Technique: Pressure and Distance Matter
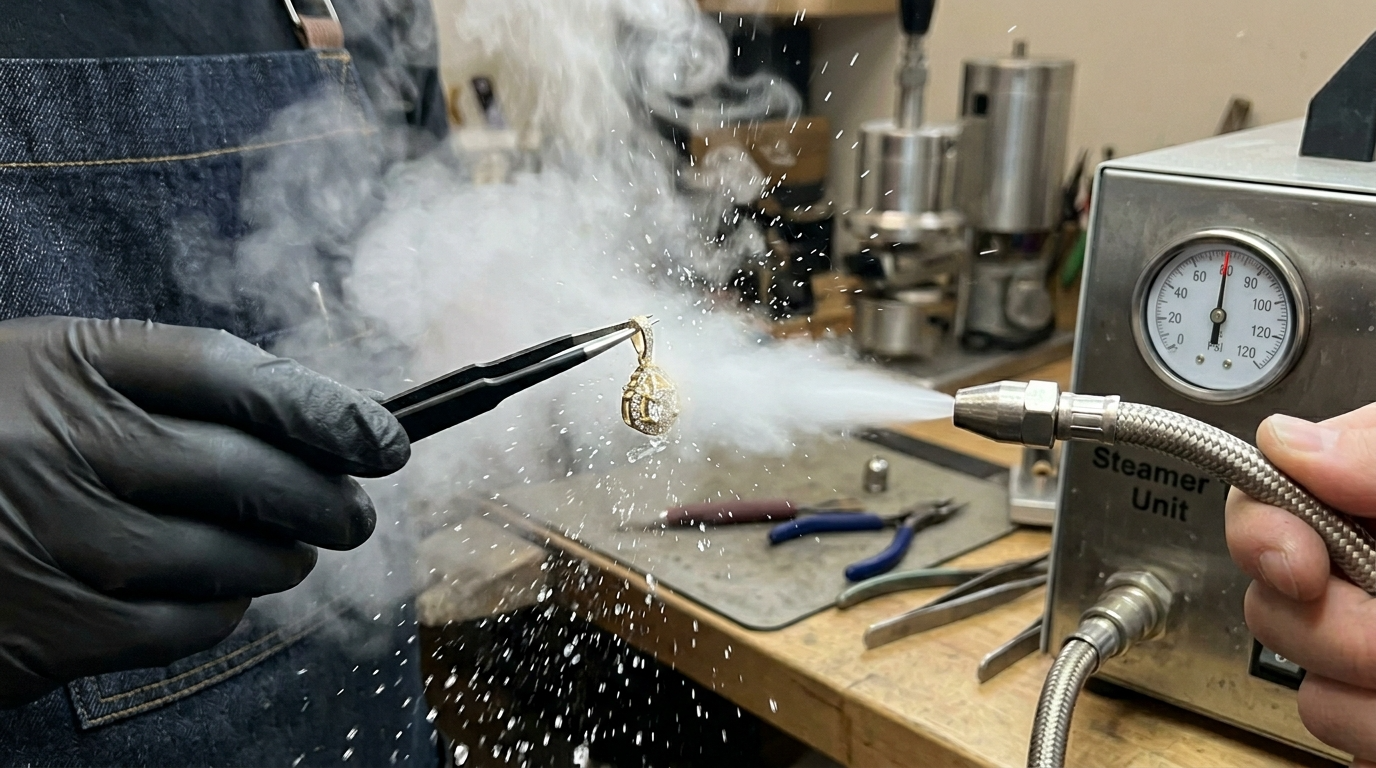
High pressure steam is powerful enough to blow a small stone out of its setting if used improperly.
Adjust Your Distance: Hold the jewelry with tweezers approximately one inch beneath the Steam Nozzle. Start there and move closer only if needed. For delicate pavé settings, stay further back and use short, controlled bursts. For even finer control on small settings, add the Deluxe Jewelry Nozzle.
Use the Foot Pedal: Most professional steamers come with a foot pedal, freeing your hands and allowing you to deliver short bursts of steam for better control (for example, the Hoffman EVD‑1 includes a foot pedal in the box). This is a standard feature on all Hoffman Steam models, from portable units to large industrial boilers.
Preventing Water Spots and Fingerprints
Even after a perfect steam rinse, you can still get cloudy results from water spots or fingerprints.
Dry Immediately: The heat from the steam will cause most water to evaporate quickly. For any remaining droplets, use a blast of compressed air or gently pat the piece dry with a clean, lint free cloth. Never let jewelry air dry on its own, as this allows mineral deposits to form.
Handle with Care: Once the piece is clean, avoid touching it with your bare fingers. Skin oils can leave smudges that dull the shine and attract dust. Use cotton gloves or finger cots for final inspection and packaging to prevent any residue.
By following this complete process, you can finally put an end to frustrating jewelry steamer cloudy results and deliver a brilliant, showroom ready finish every time.
Frequently Asked Questions About Jewelry Steamer Cloudy Results
1. Why is my jewelry still cloudy after using a steamer?
The most common reason for cloudy jewelry after steaming is a film of residue that wasn’t fully removed during the ultrasonic cleaning step. This could be leftover polishing compound, detergent, or oils. Ensure your ultrasonic solution is clean, hot, and properly concentrated, then follow up with a thorough steam rinse.
2. What causes jewelry steamer cloudy results on diamonds?
Diamonds naturally attract grease and oil. If a diamond appears cloudy after steaming, it’s almost always due to a thin film of oil or soap residue. A proper pre clean in a hot, degreasing ultrasonic solution followed by a high pressure steam blast will restore its sparkle.
3. Can a jewelry steamer damage my silver jewelry?
A steamer itself is generally safe for silver. However, if your cast sterling silver looks cloudy or frosty after cleaning, the issue might be cavitation roughening from leaving it in the ultrasonic cleaner for too long. Limit ultrasonic time for cast silver to just a few minutes.
4. Is it okay to use tap water in my jewelry steamer?
While you can use tap water, it often contains minerals that can build up inside your steamer and potentially leave mineral spots (a cause of jewelry steamer cloudy results) on your jewelry as the water evaporates. Using distilled or deionized water is highly recommended (see our Water 101 guide) to get the best performance and prolong steamer life. To minimize scale in the boiler, use Hoffman PRO Boiler Cleaner as part of routine maintenance.
5. How do I prevent water spots after steaming my jewelry?
To prevent water spots, you must dry the jewelry immediately after steaming. The piece will be hot, which helps it dry quickly. You can use a can of compressed air to blow off any remaining water droplets or gently pat it dry with a soft, lint free cloth.
6. Do I really need an ultrasonic cleaner if I have a powerful jewelry steamer?


